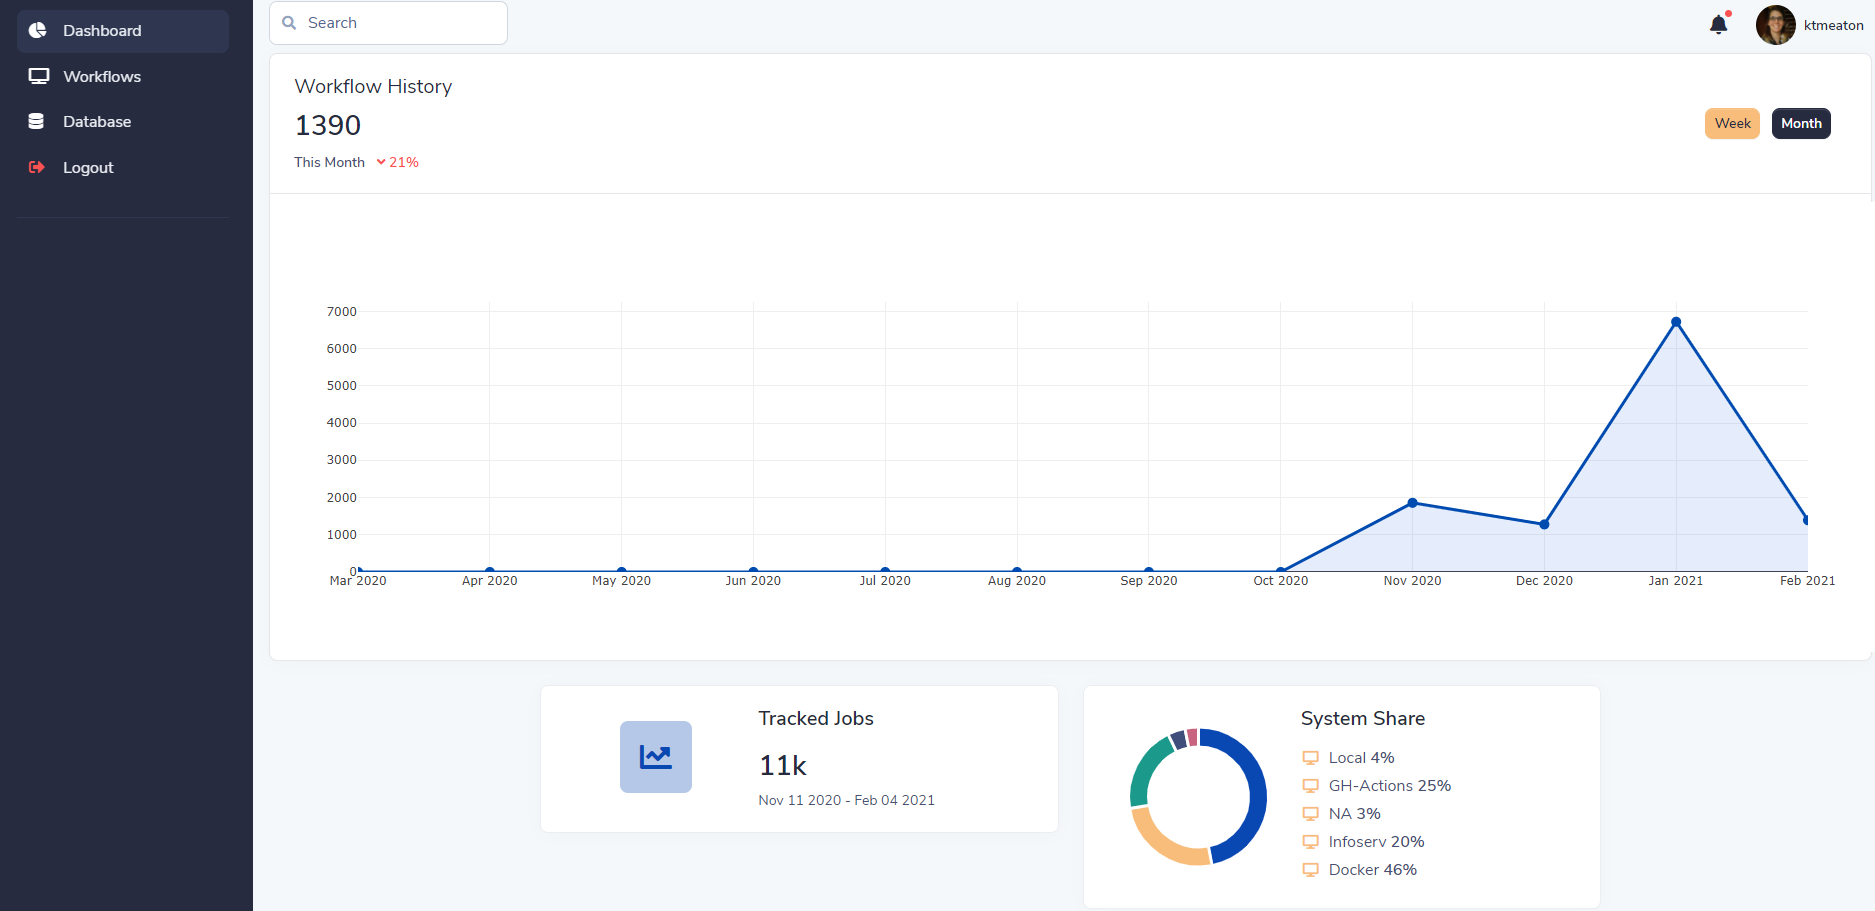
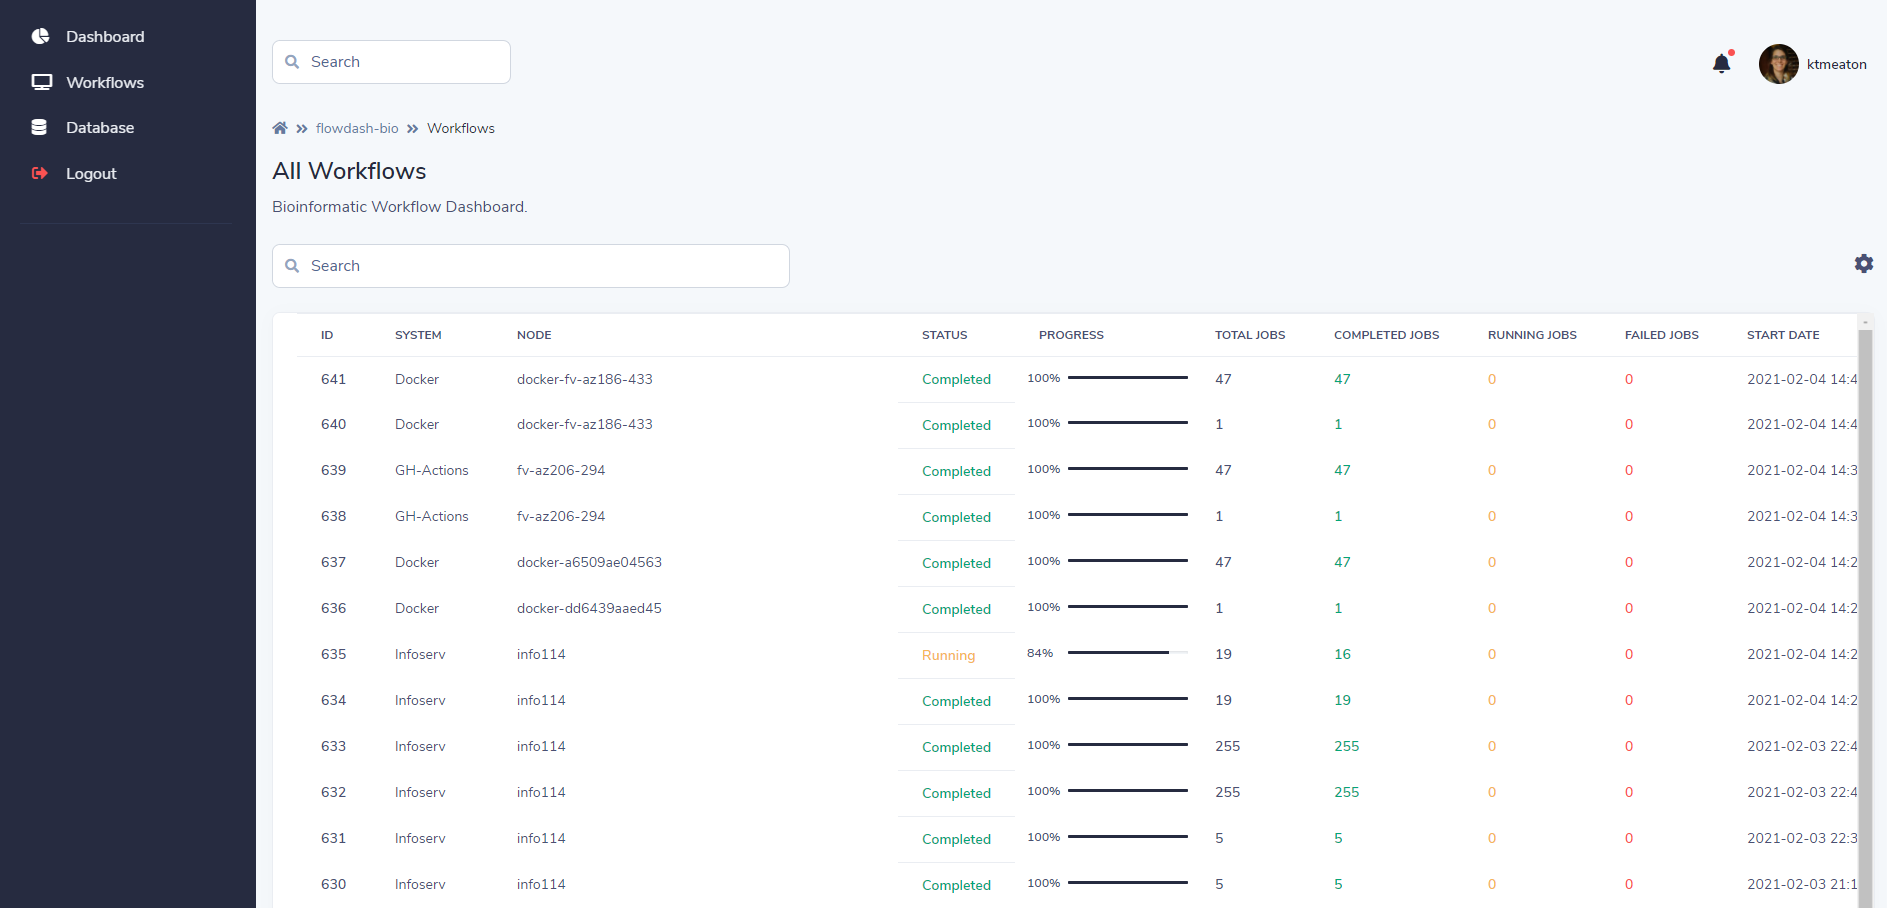
flowdash-bio
Workflow Dashboard for Bioinformatics
Run
# Get the code
git clone https://github.com/ktmeaton/flowdash-bio.git
cd flowdash-bio

# Install environment
conda env create -f environment.yaml
conda activate flowdash-bio

# Start the app
flask run --host=0.0.0.0 --port=5000
# Access the dashboard in browser: http://127.0.0.1:5000/
Deploy
Heroku
Steps to deploy on Heroku
- Create a FREE account on Heroku platform
- Install the Heroku CLI that match your OS: Mac, Unix or Windows
- Open a terminal window and authenticate via
heroku logincommand - Clone the sources and push the project for LIVE deployment
# Check Heroku CLI is installed
heroku -v
heroku/7.25.0 win32-x64 node-v12.13.0 # <-- All good

# Check Heroku CLI is installed
heroku login
# this commaond will open a browser window - click the login button (in browser)

# Create the Heroku project, staging and production
heroku create flowdash-bio
heroku create flowdash-bio-stage

# Add production and staging remotes
git remote add production https://git.heroku.com/flowdash-bio.git
git remote add staging https://git.heroku.com/flowdash-bio-stage.git

# Configure database
heroku addons:create --remote production heroku-postgresql:hobby-dev
heroku addons:create --remote staging heroku-postgresql:hobby-dev

# Setup env var for heroku
# First edit heroku-config.sh with your information
./heroku-config.sh

# Check the new config
heroku config --remote staging
heroku config --remote production

# Update the staging app
git push heroku staging

$ # Open the LIVE app in browser
heroku open
Note, you may need to export the variable BROWSER which points to the executable for your web browser.
export BROWSER="/mnt/c/Program\ Files\ \(x86\)/Google/Chrome/Application/chrome.exe"
Local PostgreSQL
Configure a local postgresql database instead of sqlite
# Initialize the general database
initdb -D local-psql-db

# Start the database server
pg_ctl -D local-psql-db -l logfile start

# Create a postgres user
createuser --encrypted --pwprompt postgres

# Create the flowdash-bio database
createdb --owner=postgres flowdash-bio

# List databases to confirm theirs a db called "flowdash-bio" owned by postgres
psql -U postgres -c "\l"

# Go register a new account via the web app, and check if they show up in the database
psql -U postgres flowdash-bio -c "SELECT * FROM \"user\""

# Stop database server when finished
pg_ctl -D local-psql-db -l stop
Migration Workflow
First, make changes to the =database schema.
# migrate local database
flask db migrate -m "informative comment about changes"
flask db upgrade
git add -A
git commit -m "informative comment about changes"
git push origin

# Staging app automatically builds/syncs from github, all good. If not:
git push staging
heroku run --remote staging flask db upgrade

# Upgrade production database
git push production
heroku run --remote production flask db upgrade
API
Generate a user API token:
curl -X GET -u test https://flowdash-bio-stage.herokuapp.com/api/tokens
Set the token to an environmental variable:
export FLOWDASH_BIO_TOKEN=mysupersecrettoken
Use this token in the authorization header for API requests:
# get all workflows
curl -X GET -H "Authorization: Bearer $FLOWDASH_BIO_TOKEN" https://flowdash-bio-stage.herokuapp.com/api/workflows

# get workflow by id
curl -X GET -H "Authorization: Bearer $FLOWDASH_BIO_TOKEN" https://flowdash-bio-stage.herokuapp.com/api/workflows/id/1

# get workflow by attributes (ex. system)
curl -X GET -H "Authorization: Bearer $FLOWDASH_BIO_TOKEN" https://flowdash-bio-stage.herokuapp.com/api/workflows/attr?system=Compute+Canada

# update workflow attributes
curl -X PUT -H "Authorization: Bearer $FLOWDASH_BIO_TOKEN" https://flowdash-bio-stage.herokuapp.com/api/workflows/attr?node=cedar5&total_jobs=50&completed_jobs=40&
running_jobs=5&failed_jobs=0
Credits & Links
- Flask Framework - The offcial website
- Boilerplate Code - Index provided by AppSeed
- Boilerplate Code - Index published on Github
- Flask Dashboard Volt - Provided by AppSeed Web App Generator.